|
|
|
|
|
|
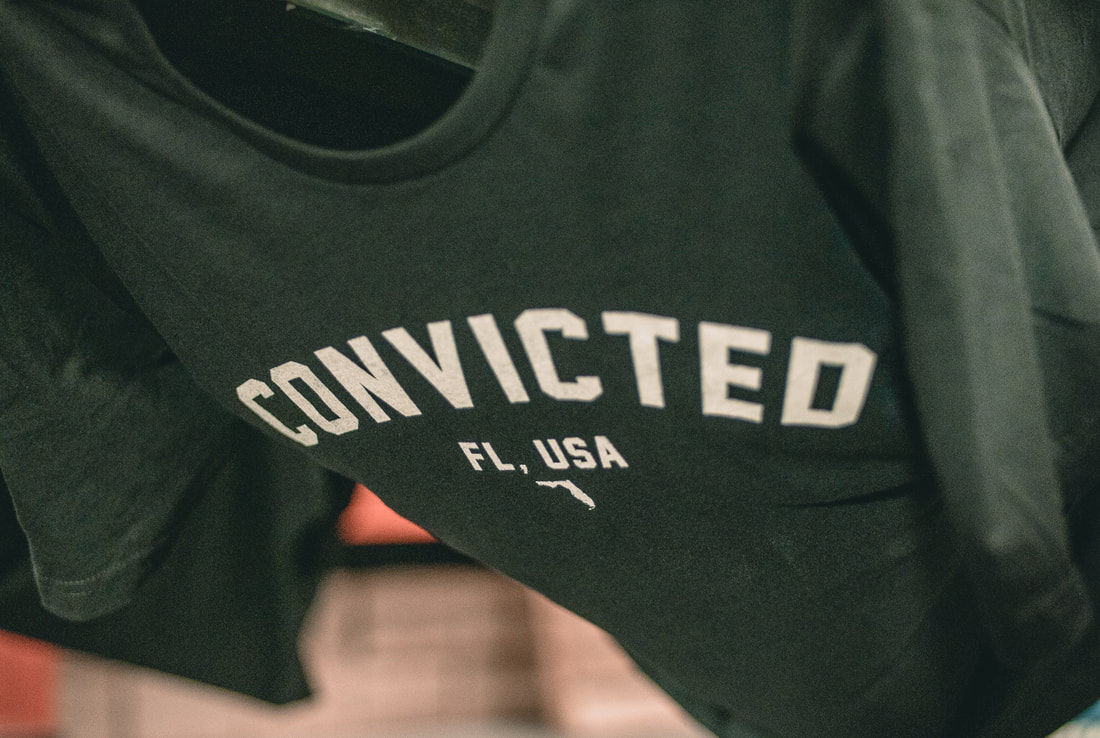
Screen Printing - The Process
Screen printing is the process of decorating textiles, apparel, and accessories by transferring ink to the item through a silk screen stencil. The designs can range in complexity from one color to potentially hundreds, based on the mixing process used during printing.
At Integrity Advertising Works, we specialize in bulk t-shirt and apparel decorating.
All you need to do is fill out a Custom Quote Request and we will guide you through the rest of the process.
With our dedicated Client Care Representatives, ordering is simple and easy.
At Integrity Advertising Works, we specialize in bulk t-shirt and apparel decorating.
All you need to do is fill out a Custom Quote Request and we will guide you through the rest of the process.
With our dedicated Client Care Representatives, ordering is simple and easy.
The Process - Expanded
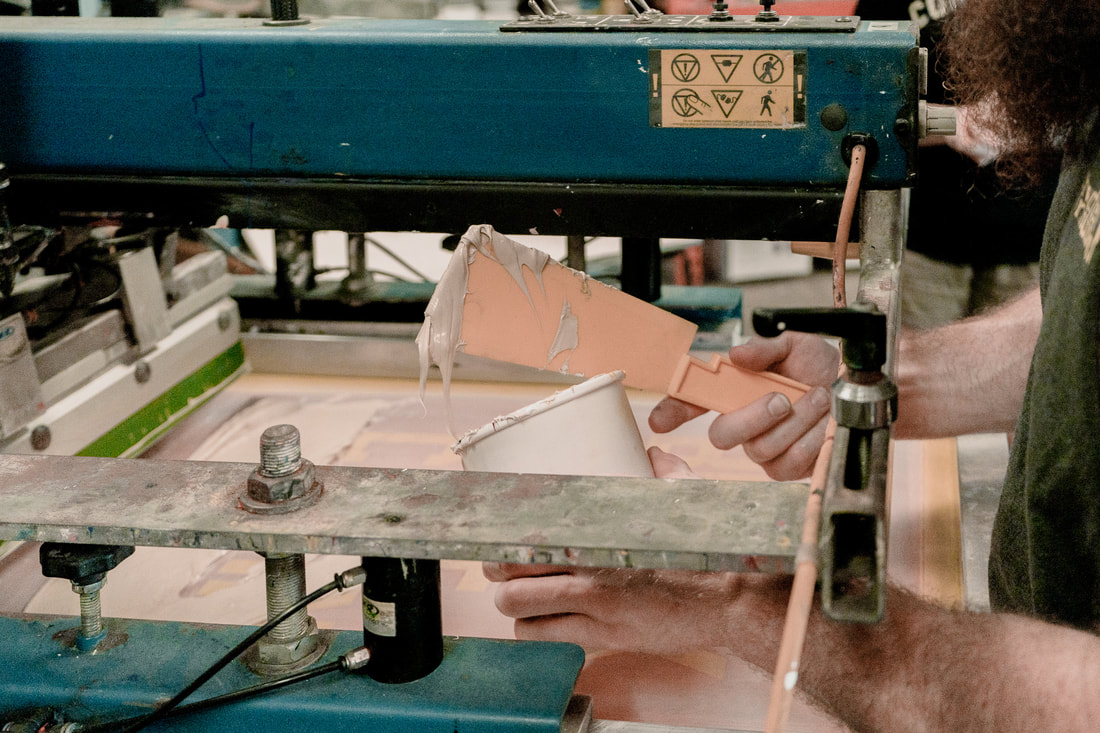
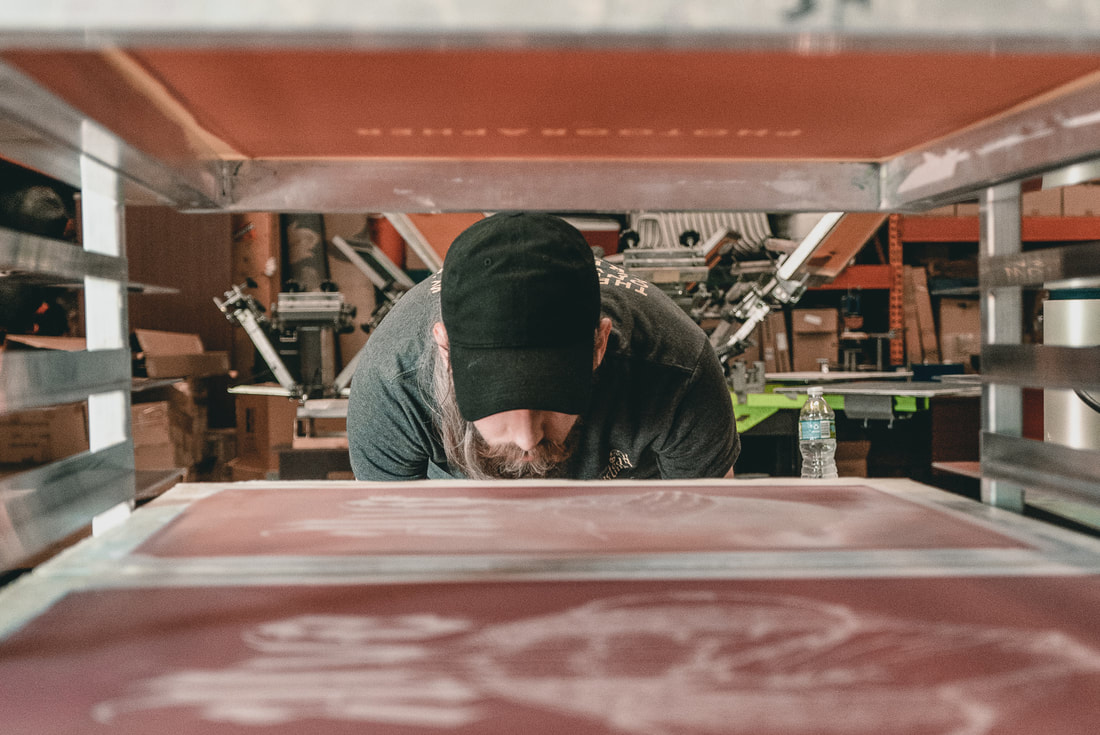
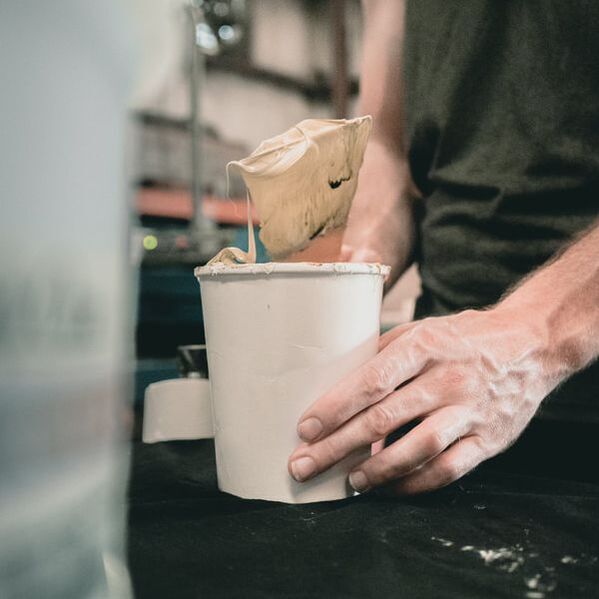
Screen printing involves a squeegee pushing an ink through an image on a screen onto the surface to be printed. Although called silk screen printing, the screens now are generally made of polyester and stretched over a wood or metal frame. The screen is coated with a light sensitive emulsion which allows the image to be burned onto the screen using a film positive and a UV exposure unit. There is one screen for each color and location that is printed. The exposed screens are mounted on the press and registered to each other so that the images line up correctly. The screens then are filled with the proper ink and a squeegee pulls the ink across the screen, depositing the ink through the stencil onto the printing surface. After all colors are printed in this manner, the garment is then passed down a conveyor dryer in order to cure the ink properly for a lasting image.
Screen Printing is among the most versatile of graphic processes. Thousands of different types of garments, ad specialties, and promotional items are screen printed. There are eight basic steps for each screen printed job.
Screen Printing is among the most versatile of graphic processes. Thousands of different types of garments, ad specialties, and promotional items are screen printed. There are eight basic steps for each screen printed job.
- CREATE A FILM POSITIVE:
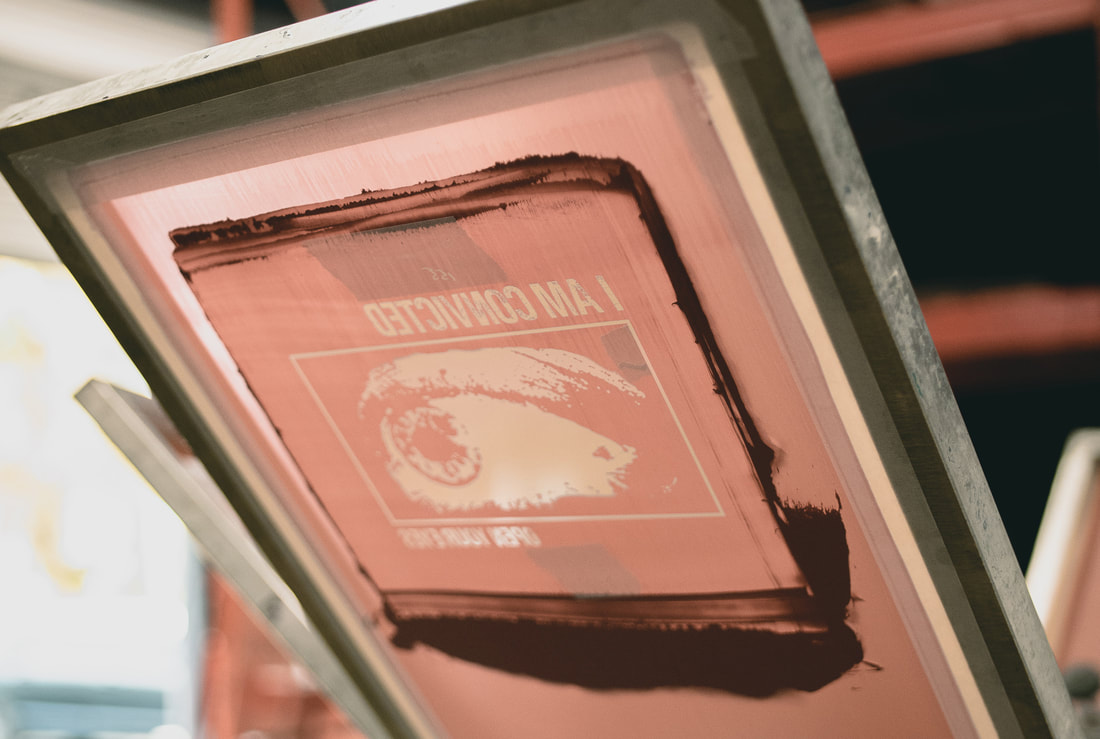
We take your design or one that we have created for you and print via Epson ink jet printers operating with a multi rip onto a translucent film. Our rips give us a very dense image and sharp edges that are required for high quality images. One film is required for each color and location. Please visit ARTWORK REQUIREMENTS for specific instructions for artwork. - EXPOSE SCREENS:
In order to transfer your art onto a screen, the film must be put into contact with a photo sensitive, emulsion coated screen and exposed to UV light. We utilize Richmond Solar Beam exposure units with a good vacuum in order to hold the imaged film in direct contact with the emulsion. These units provide a precise control of all variables that will contribute to good screens and high quality prints. - DEVELOP THE SCREENS:
The exposed screen is then washed with water to remove any emulsion where the positive image appeared on the film. This operation will make a stencil that ink passes through when you print the image. - REGISTER SCREENS AND PRINT GARMENTS:
Printing is the easiest part of the process. You must now register your screens, one for each color and location, to a film positive that is placed on one of the printing pallets. Clamp the screens in place, use the micro registration controls for final adjustment, and print the garment by pulling a precisely sharpened squeegee and ink across the image. - FLASH CURE:
To get a bright, opaque image on dark colored garments, it is often necessary to flash cure or partially cure the ink and then print another layer on top. This print, flash, print technique is also used for multi-color printing on dark garments. - CURE PRINTED GARMENT:
This step fully cures the ink with a conveyor dryer. Getting the proper ink-cure is the key to a long lasting image. Your garment is now complete and ready for further processing, such as folding and bagging, or for delivery to the customer. - RECLAIM AND RE-TENSION THE SCREEN:
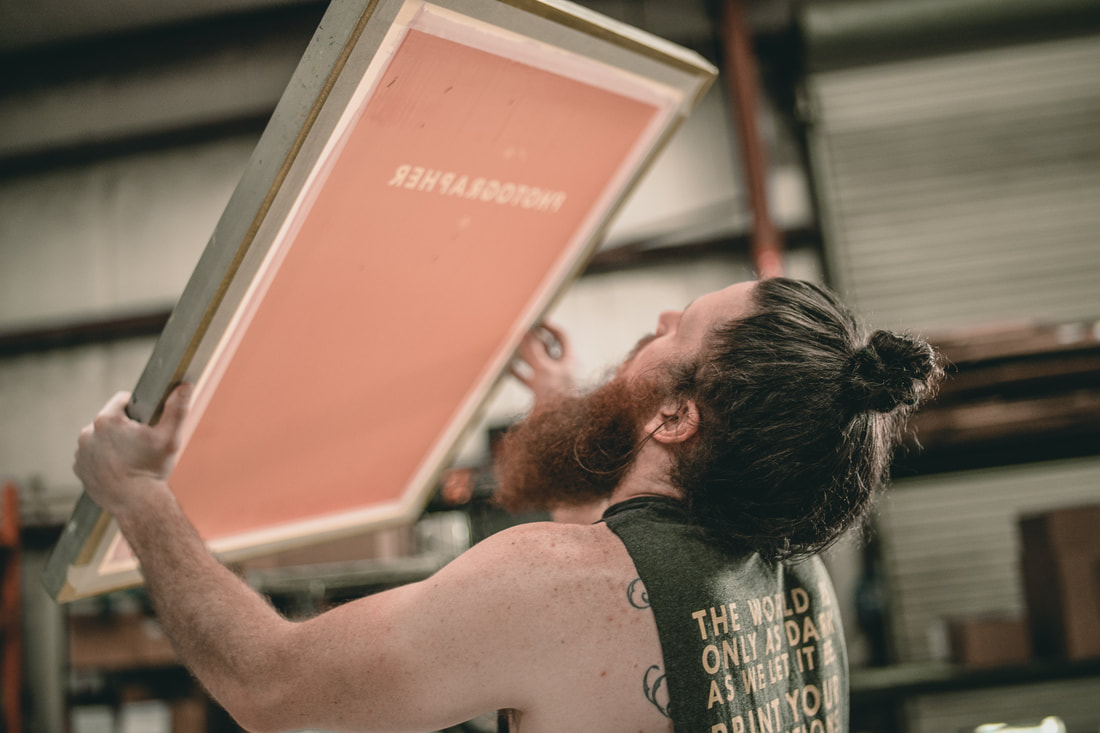
Although the garment is finished, the job is not. You must now remove any ink from the screen and dispose of it under environmentally safe conditions, strip the emulsion from the screen in large dip tanks, remove any haze, degrease the screen, and dry for the next step. The tension of the screen is now checked. If the screen has the proper tension, we can keep using it for future orders. If the screen tension has become to loose from use in the printing process, we must set the screen aside until it can be professionally re-stretched with new mesh. Correct tension is absolutely necessary for a good quality print. If the tension is too loose, it can distort the image. - RECOAT THE SCREEN:
The clean screen is now coated with the photo sensitive emulsion in such a way to insure that all mesh is correctly covered with the proper thickness of emulsion. The coated screen is then stored in a climate controlled environment, both temperature, 77 degrees F., and humidity, 50% R.H. The screen is now ready to be put through the next eight step process. These last two steps are the most important in order to maintain a high quality print. They are time consuming, highly controlled processes that separate us from the other, lesser quality competitors.
Products
|
At Integrity Advertising Works, we print and stitch on a wide range of products. If you have an idea for a product or concept that you don't see listed here, please contact us:
By phone: 813-431-6286 or email at: IntegrityAdvertisingWorks@Gmail.com. The products we recommend the most: - Next Level - - Bella Canvas - - Sport Tek - - Gildan - - Yupoong - - Adams - - Port & Company - |
|


|
Plastisol:
These inks are general purpose and have been used in screen printing for many years. They can be used for spot printing and simulated process printing. Plastisol typically adds more hand-feel to the design on the shirt. Plastisol is the most cost effective ink to use. Ready to order or have more questions? Contact us! |
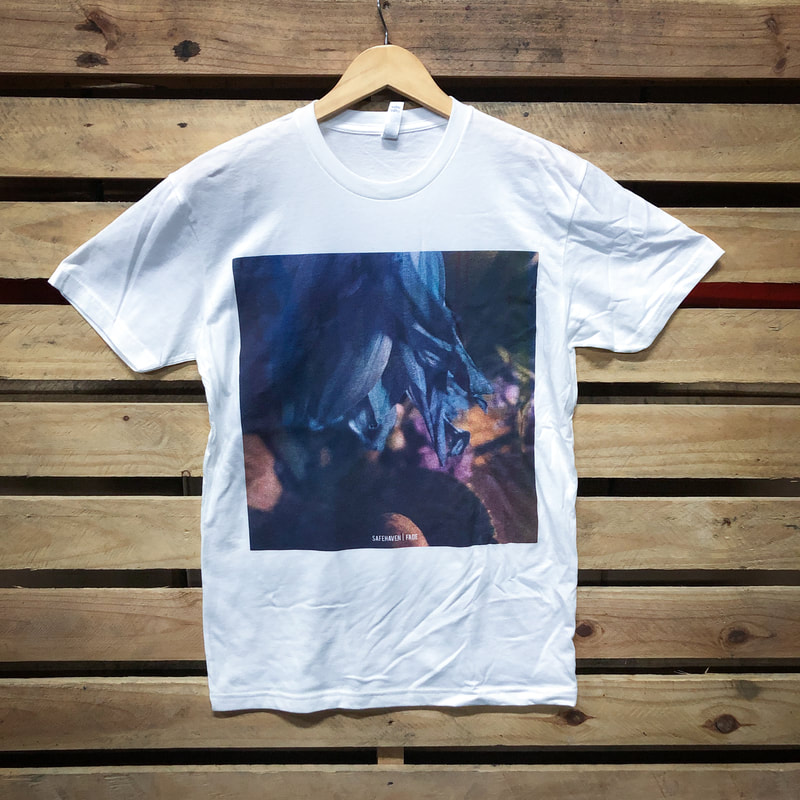
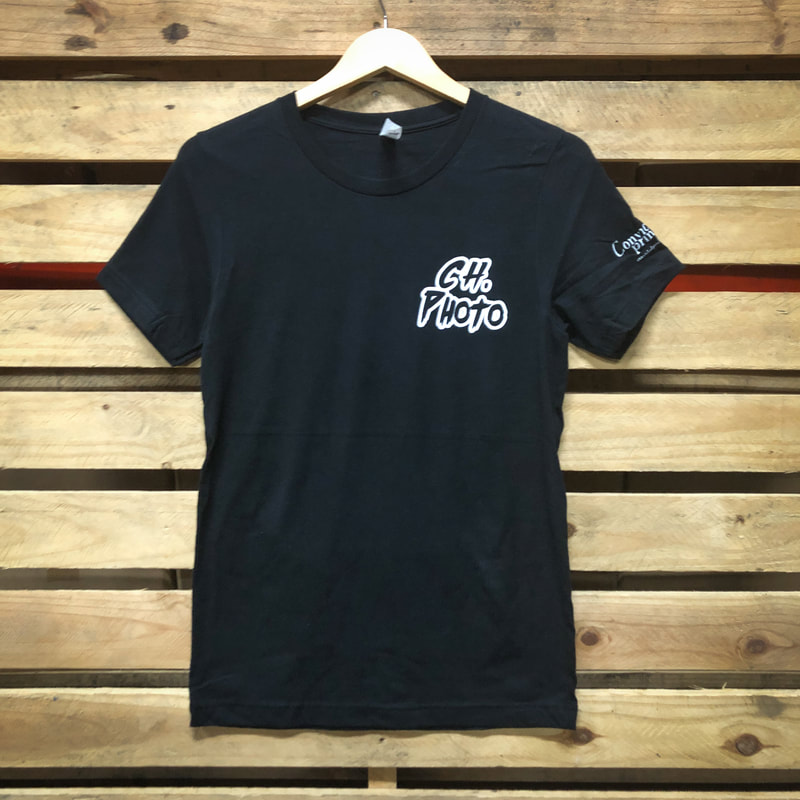
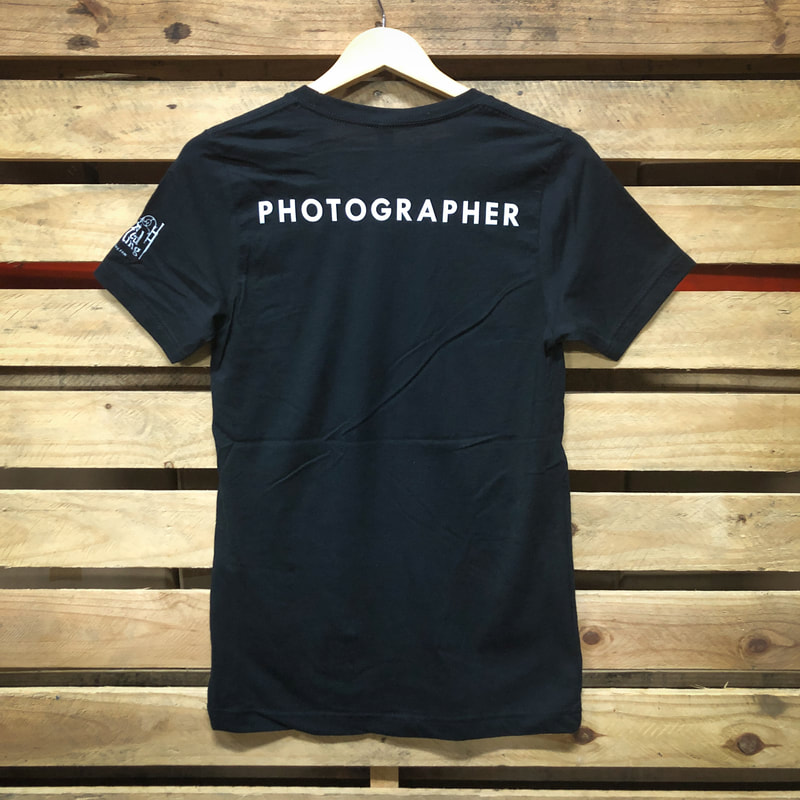
GALLERY
(Click to enlarge)
(Click to enlarge)

|
Discharge:
Discharge ink uses a heat activated, two-part ink/chemical to bleach the design portion of a garment to its original color and then re-dye the shirt with a new color. This process creates vivid color with an almost no hand-feel. The design won't crack or fade since the image you see is practically the shirt itself. An additional charge per piece and per color is included when using discharge inks. We use a water-based discharge ink that requires a chemical to be mixed with it immediately before use and must be discarded that day. Ready to order or have more questions? Contact us! |
|
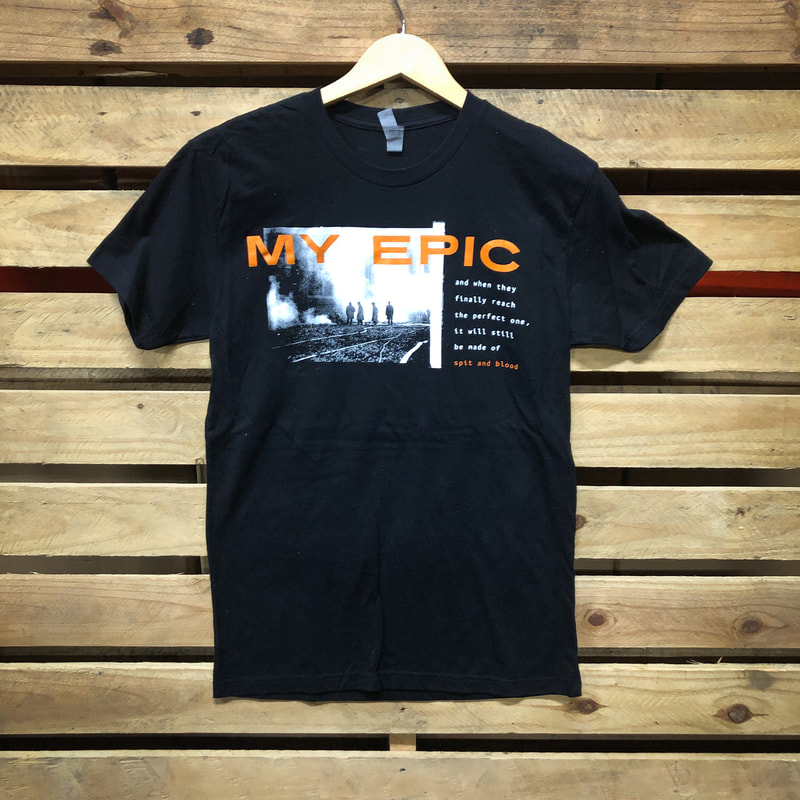
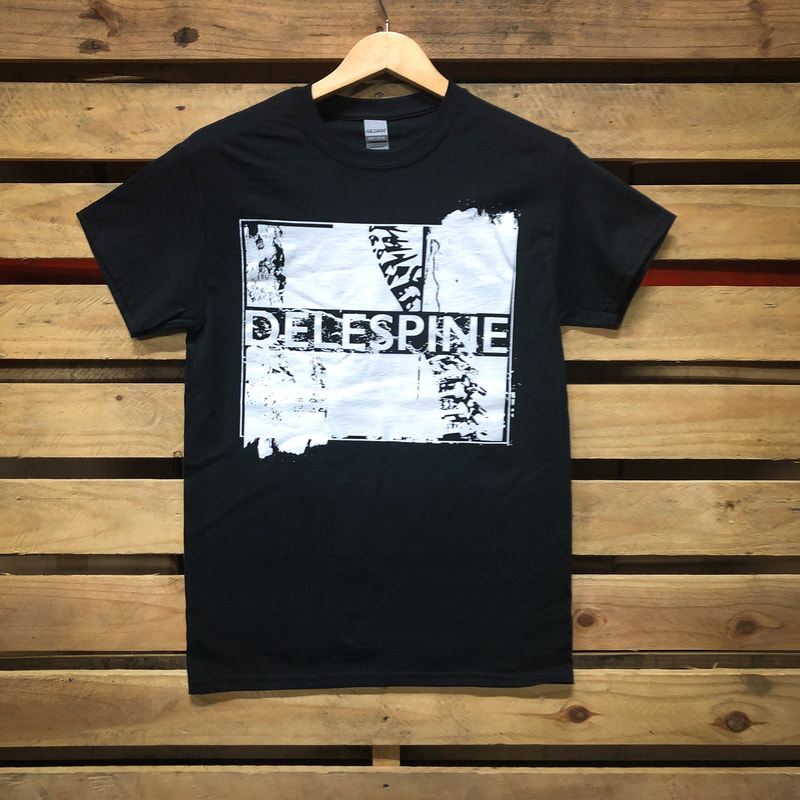
Spot Printing:
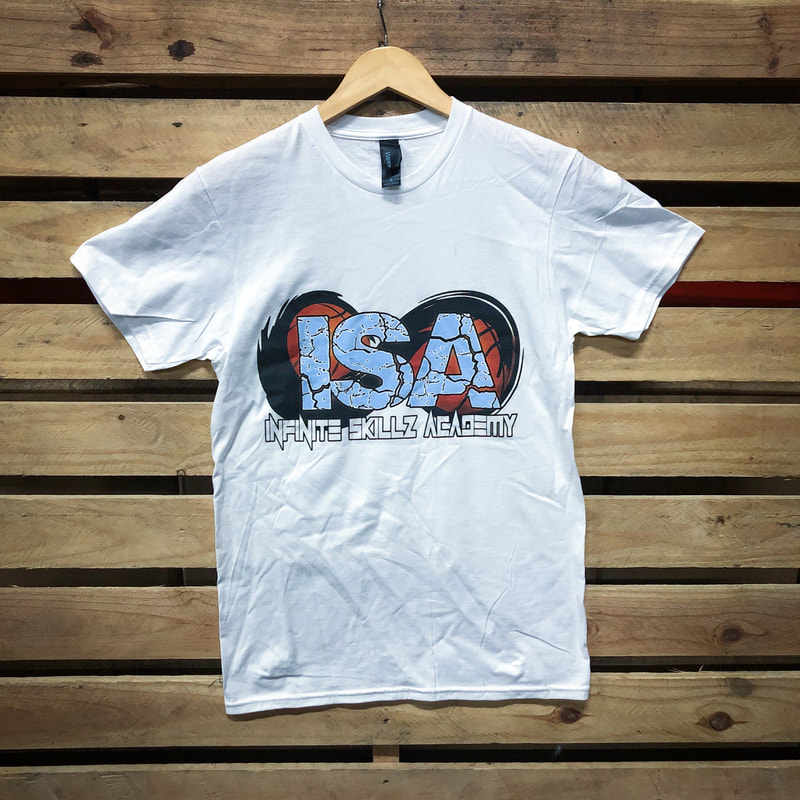
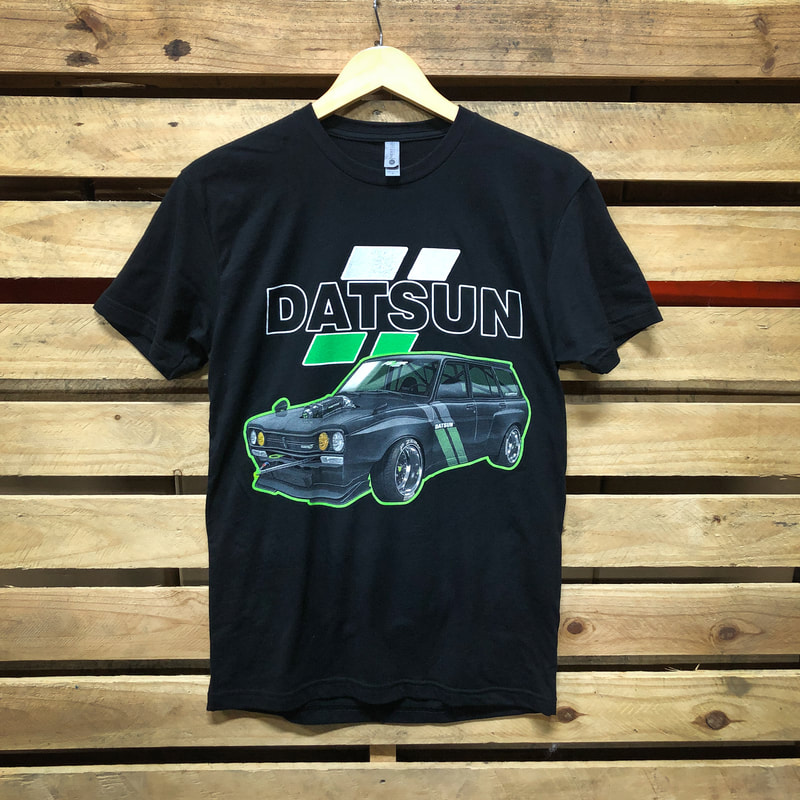
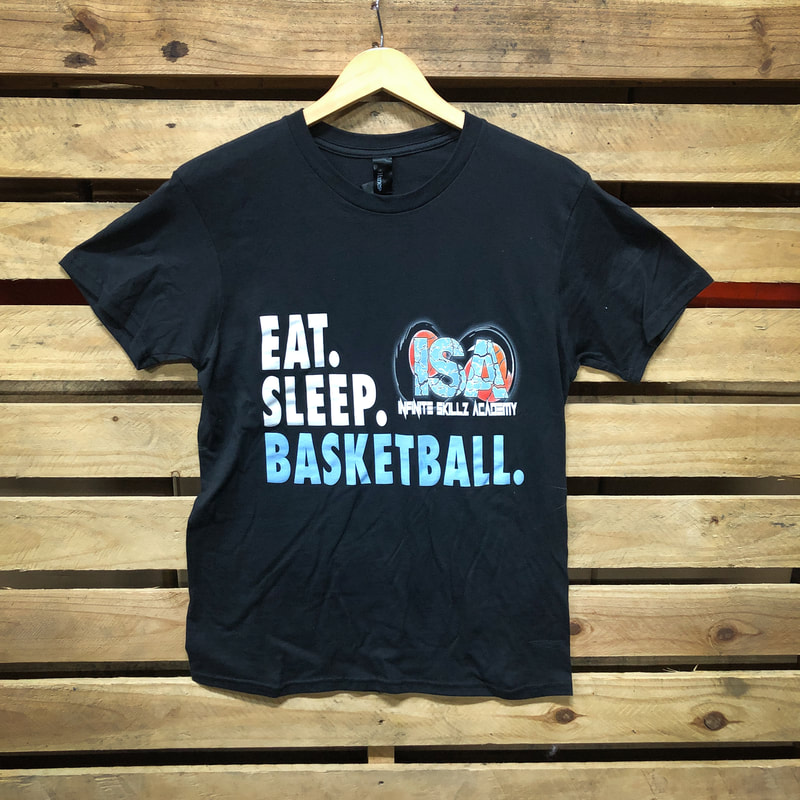
The most popular of the three printing processes utilized in our operation, this is the more typical method used in screen printing one or more colors. Either solid or half tone and can be used on light or dark garments. The reason it is called "spot" printing is because each color of ink has its own "spot" on the substrate, meaning there is no special blending of ink required to produce the image(s) on the substrate. This is the most cost effective printing process. Ready to order or have more questions? Contact us! |
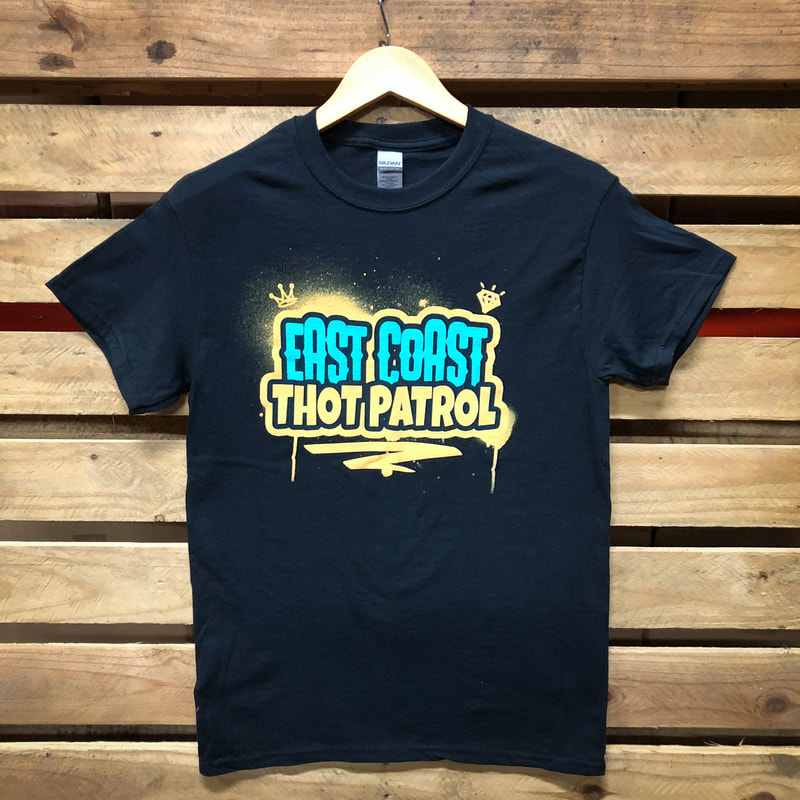
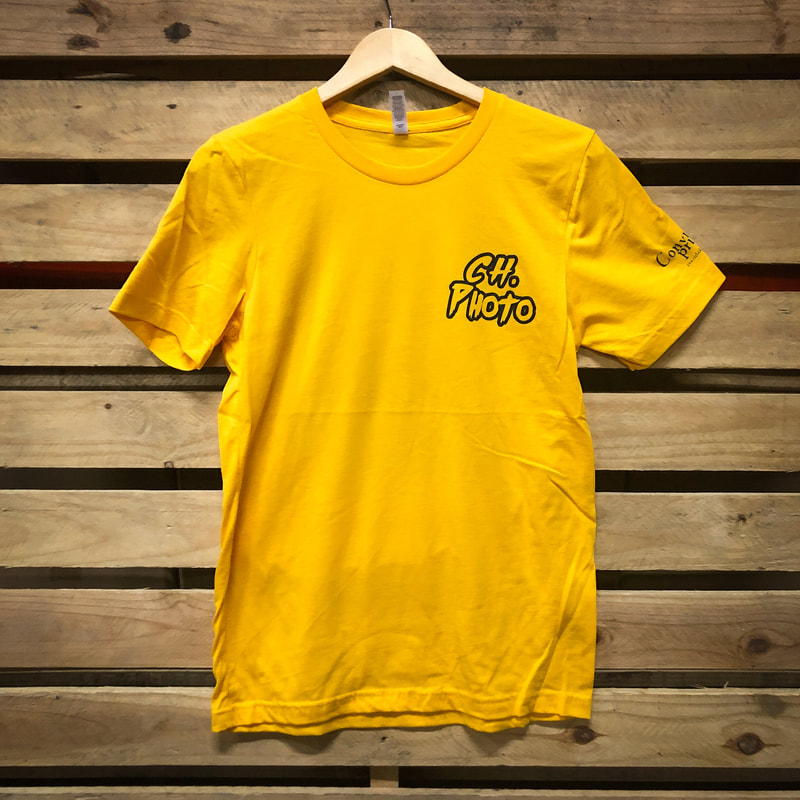
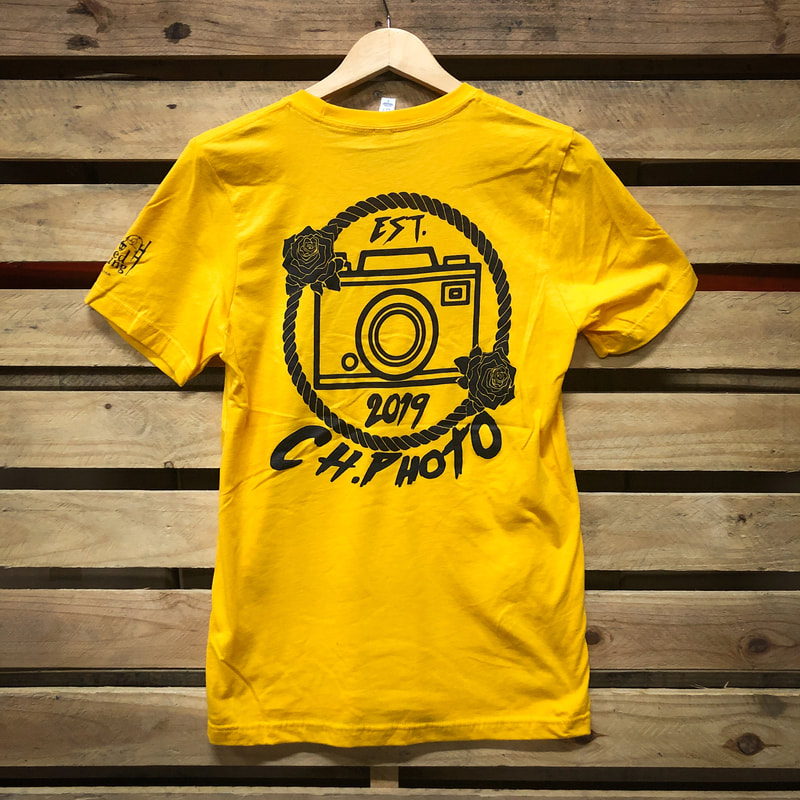
GALLERY
(Click to enlarge)
(Click to enlarge)


|
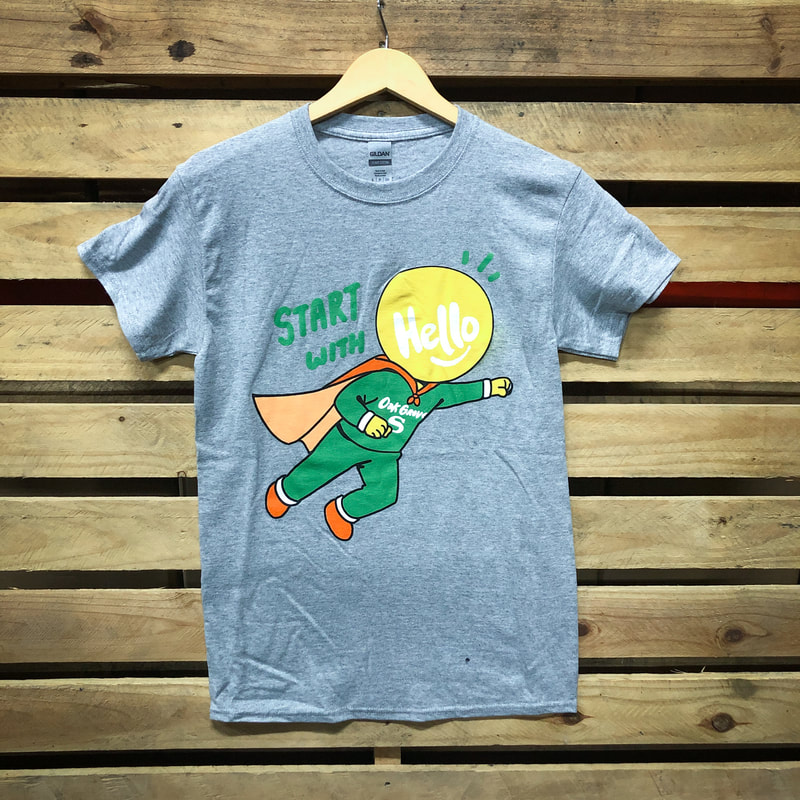
4-Color Processing:
This process uses only four colors to duplicate any image, Cyan, Magenta, Yellow, and Black (similar to an inkjet printer using CMYK on white paper). These special inks are transparent and allow overlapping dots of the colors to blend and make another color. Because of their transparency, this process can only be used on white or extremely light color garments. This is a very precise printing process and requires special separations, screens, and inks as well as knowledgeable printers. An additional charge is included in order to process the image separations through the proper software needed. Ready to order or have more questions? Contact us! |
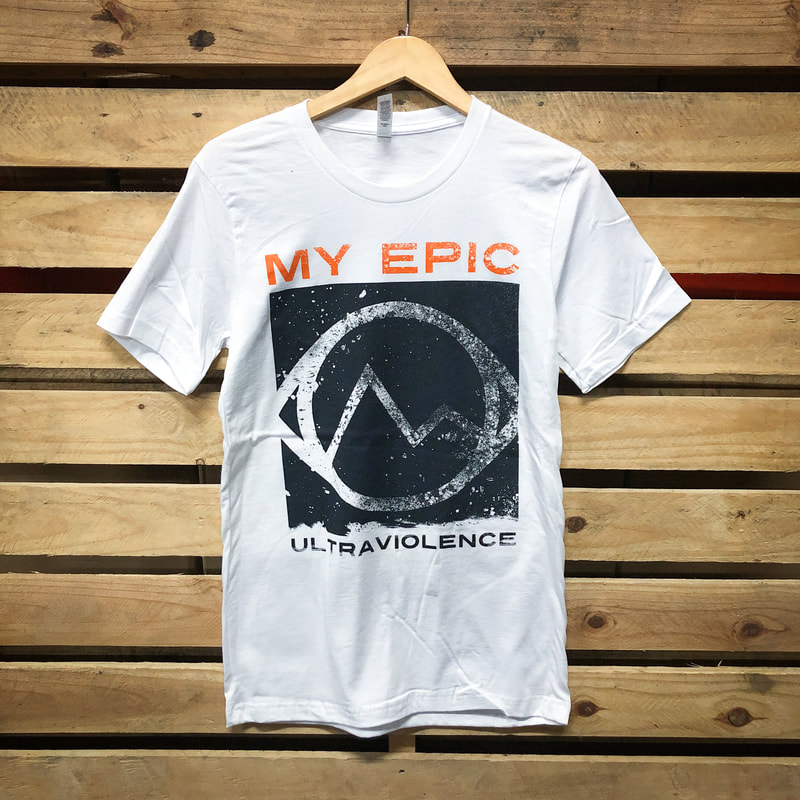
GALLERY
(Click to enlarge)
(Click to enlarge)

|
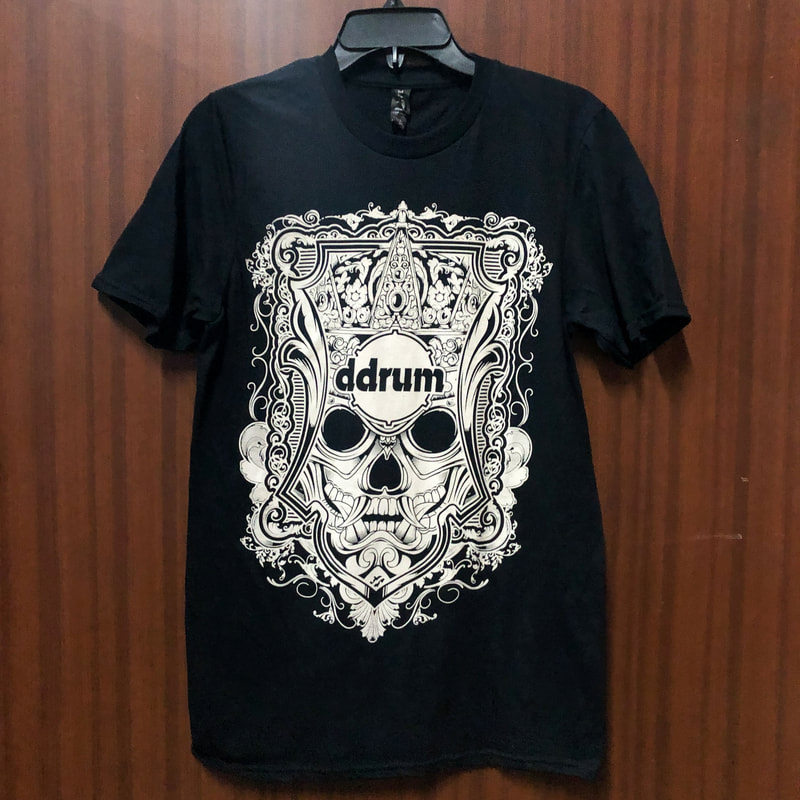
Simulated Process:
One of the three printing processes utilized in our operation. The simulated process uses special separations to print full graphic images, including gradients and color blending, on dark garments. If your image has a lot of colors and is going on a dark garment, you will probably need the simulated process. This process typically takes 4 to 8 screens to make the image come out with the highest quality. An additional Simulated Process charge will be added to use the Color Separations Studio software needed. Ready to order or have more questions? Contact us! |
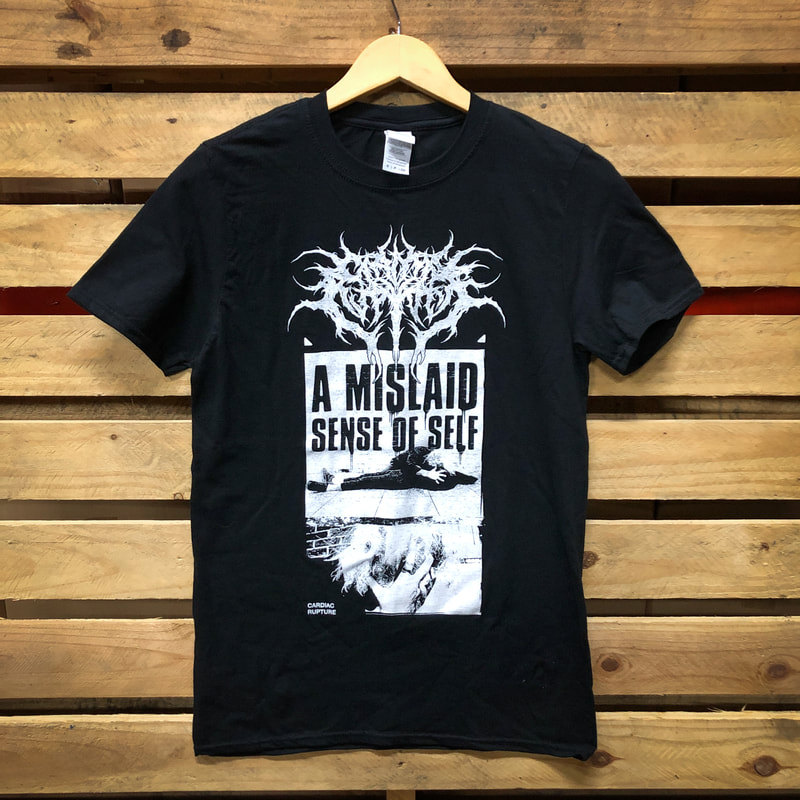
GALLERY
(Click to enlarge)
(Click to enlarge)


|
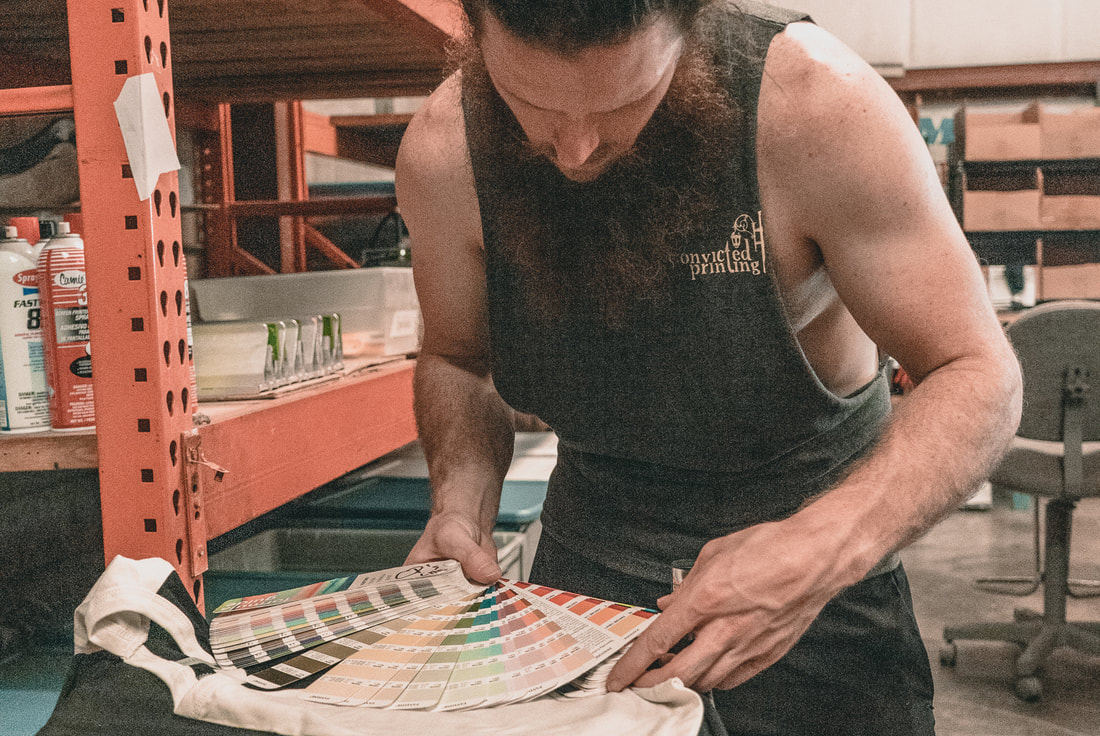
Custom Ink Mixing with Wilflex™ Color System MX:
At Convicted Printing, we offer in-house, Pantone match ink mixing. We use the Wilflex™ Color System MX, which is a simple finished ink system that allows access to simulations of the entire Pantone® spectrum with just 15 inter-mixable colors. MX Mixing colors are single pigments offering balance of color, accuracy, and printability and features base chemistry that provides a matte surface finish and is optimized for wet-on-wet printing. If a custom ink mix is needed for your order, there is a small additional charge per color, per piece. This covers the cost of the software needed, as well as the additional time it takes to mix your custom color(s). Ready to order or have more questions? Contact us! |
Artwork Requirements
IMAGE FILE TYPES ACCEPTED (LISTED IN ORDER BY PREFERENCE):
1) .psd 2) .ai 3) .pdf 4) .tif 5) .png 6) .jpg
--- All files need to have 300 DPI resolution ---
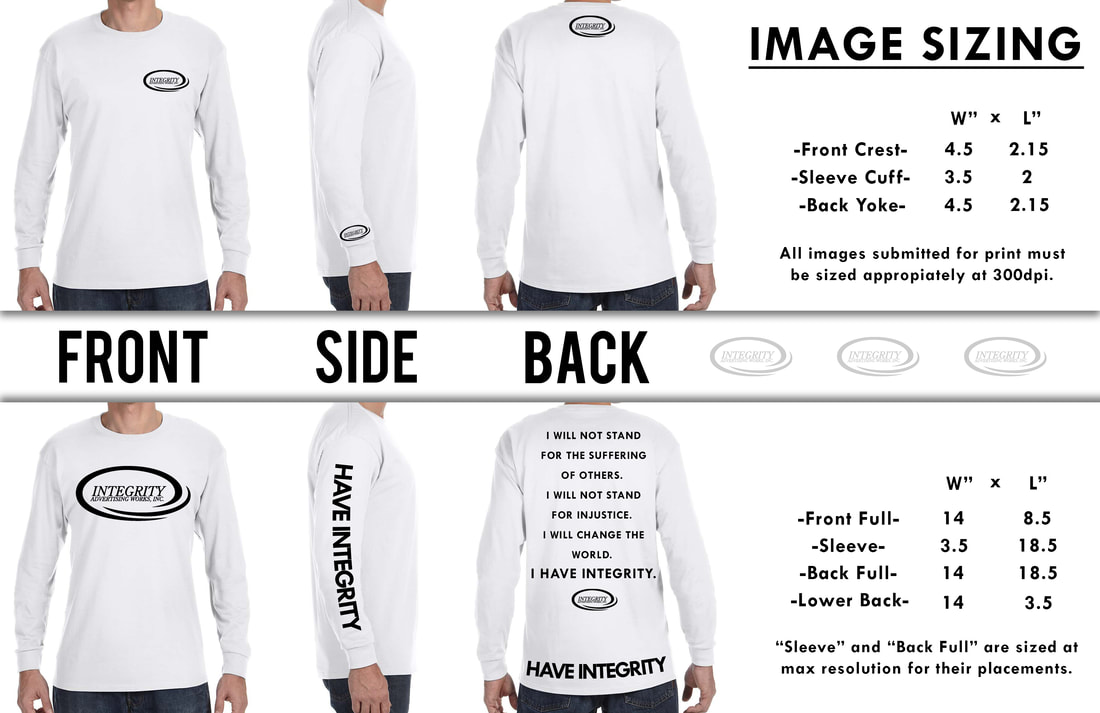
IMAGE SIZING GUIDES
Please send your artwork/images in the size displayed in the “Maximum Image Size” column below that matches the “Style” you need for your order.
Please note, if you do not provide specific sizing for your images, we will use the maximum print/stitch size according to our standards listed below.
1) .psd 2) .ai 3) .pdf 4) .tif 5) .png 6) .jpg
--- All files need to have 300 DPI resolution ---
IMAGE SIZING GUIDES
Please send your artwork/images in the size displayed in the “Maximum Image Size” column below that matches the “Style” you need for your order.
Please note, if you do not provide specific sizing for your images, we will use the maximum print/stitch size according to our standards listed below.
Style / Spot |
Maximum Print Size |
Adult T-Shirts / Crew Sweatshirts (Portrait) |
14″ W x 18.5″ H |
Can Cozies |
3.5″W x 3.5″H |
Adult XS or Women’s XS (If included in your order) |
11″ W x 16″ H |
Adult Crest / Left Chest Print |
4.5″ W x 8″ H |
Hooded Sweatshirts (front) |
14″ W x 10″ H |
(Neck) Tags |
3.5″ W x 3.5″ H |
Pants Legs / Sleeves |
3.5″ W x 3.5" H or 17″ H |
Pocket Prints |
3.5″W x 3.5″H |
Youth T-Shirts |
10″ W x 12″ H |
Toddler T-Shirts |
8″ W x 8″ H |
Infant Apparel |
3.5″ W x 3.5″ H |
Crop Tops |
11″ W x 7″ H |
Center Mask |
3.5" W X 3.5" H |
Side Mask |
1.5" W X 1.5" H |
ARTWORK SERVICES (EXTRA CHARGES):
In the event of low quality or incorrectly sized submitted art, alteration, cleaning and/or recreation of the image may be required for a properly printed product. Cleaning and/or alteration of images will result in a graphics charge. For in depth alterations and/or recreation, price will be determined at time of image submission.
If the file is not print ready, we will notify you of any fees that need to be paid to make sure you get crisp, print ready files for your amazing prints! In the event that an invoice has been paid, but artwork is found to be in need of cleaning/alterations, a separate invoice will be sent including graphics charges unless Customer can provide corrected images as needed. Please be aware, if Customer uploads incorrectly sized/quality files, this may add time to the turnaround process, or could greatly reduce the quality of the image on the final product.
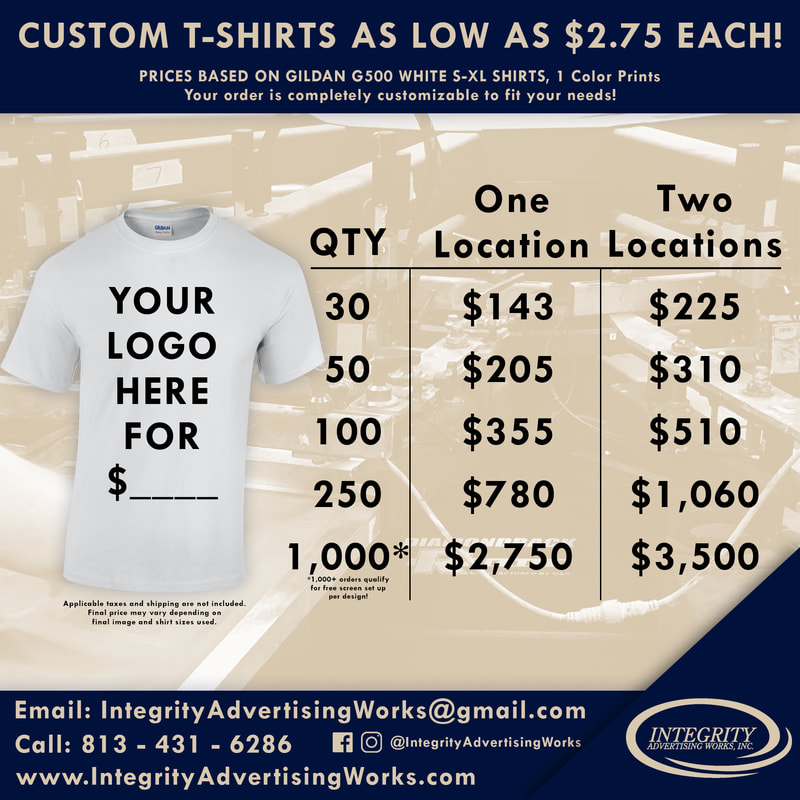
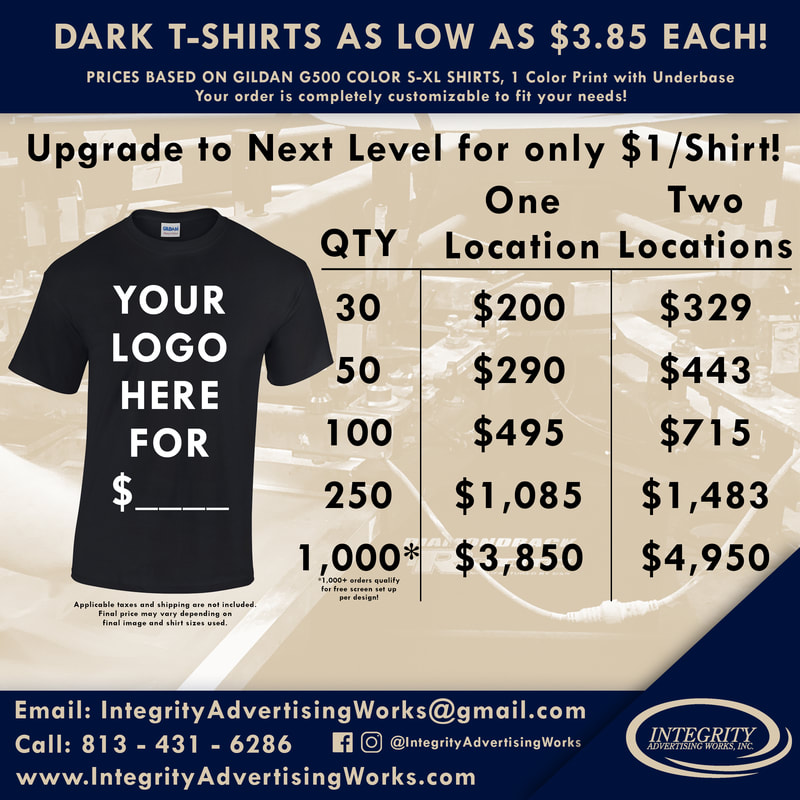
Pricing
Here are some excellent starter points to get you a rough idea of how much some of our services may cost.
Not seeing something that shows what you are looking for? No worries! We are happy to help, just give us a call.
For a fully accurate custom quote, fill out a request a quote form and a Sales Representative will reach out to help you.
Not seeing something that shows what you are looking for? No worries! We are happy to help, just give us a call.
For a fully accurate custom quote, fill out a request a quote form and a Sales Representative will reach out to help you.


Consider This!
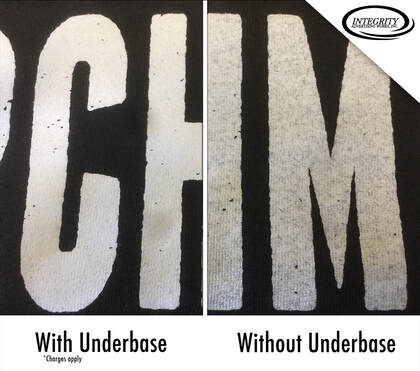
While shopping for a screen printer, you may have come across the term “underbase.” To put it simply, an underbase is a first layer of ink printed onto a garment (usually a dark colored garment) in order for all of the other colors printed on top of it to stand out brightly.
For example, if a bright red was printed onto a dark garment (in this example, a black shirt), the ink would look like a brick red due to how the ink sits in the shirt. However, if a white layer is printed under the top red, the color would be bright and stand out on top of the first layer that was printed.
Having no underbase allows you to see some of the fabric texture through the ink, while having an underbase gives the image a bright, crisp look.
One of the reasons you might consider an ink to be printed without an underbase is to give it a more vintage style look/feel to the print. This still has its limits depending on the color of the garment and the color of the ink.
On all of our orders we automatically apply an underbase to dark garments to ensure a high quality top image (this is a big reason why you see a price difference between dark garments and light garments for screen printing). If you would like to remove the underbase from your order, simply request it from your Sales Representative and they will help you with that process.
An underbase does include an extra screen fee and another color print service charge in the printing process.
You can see an example of how white ink on a black garment looks with and without an underbase below:
Printer’s Comments:
If you are looking for a grungy/distressed/vintage look, we would suggest going without an underbase where possible. But if you want crisp, bright images, go with an underbase (it will be worth it). Having (or not having) an underbase does not affect the longevity of the print.
If you are looking for a grungy/distressed/vintage look, we would suggest going without an underbase where possible. But if you want crisp, bright images, go with an underbase (it will be worth it). Having (or not having) an underbase does not affect the longevity of the print.
|
|
|